What Is Fair Value Gap (FVG) in Trading?
Introduction
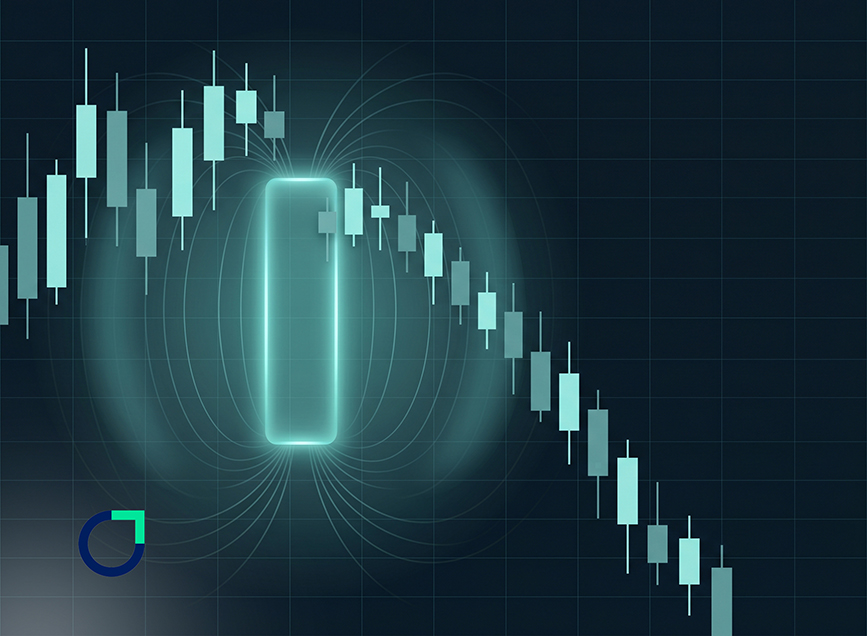
You are not the only one who has ever felt that you “missed the trade” when watching the market move so fast. The price frequently travels far too fast to go with you as you follow it, only to come back and allow you to enter again from some area that you would have preferred to enter before it moved on. The return to the area of price is not as it may seem.
Often times, this area that you see price return to is known as a Fair Value Gap (FVG). Even though it seems very basic at first glance, once you learn about it your entire perspective on the market will change.
Instead of chasing price, you begin to wait. Instead of reacting emotionally, you start anticipating where price might return. This shift alone can improve your entries, your confidence, and even your patience as a trader.
What Is a Fair Value Gap (FVG)?
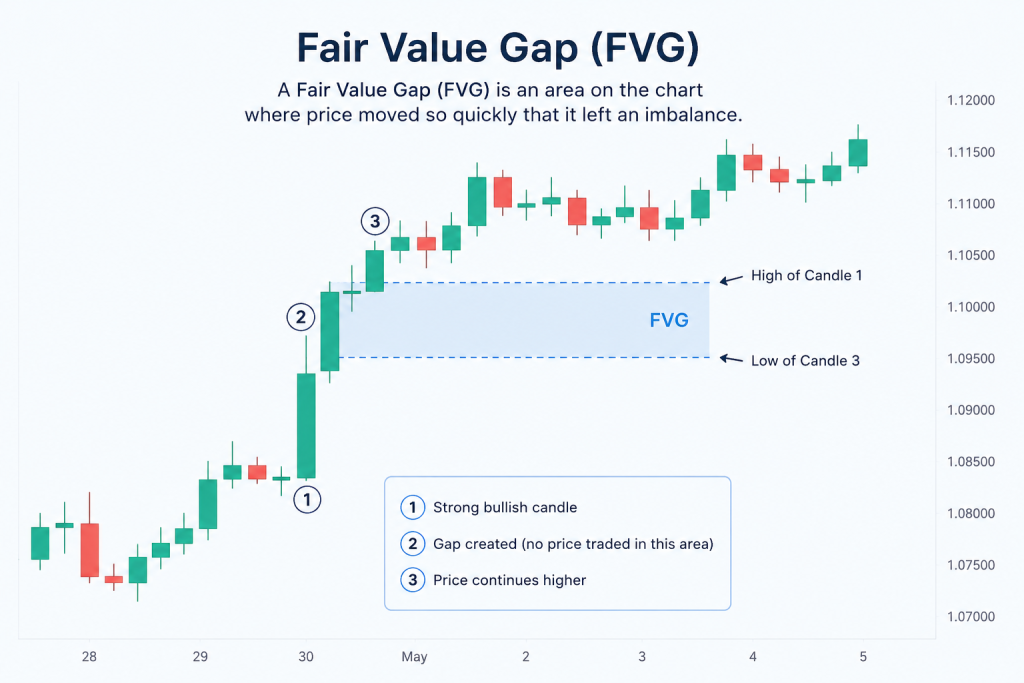
A Fair Value Gap, often called FVG, is a specific type of price imbalance that forms when the market moves aggressively in one direction and leaves behind an area where trading activity was minimal. It’s not just a visual gap it represents a moment where the market didn’t fully “agree” on price.
To understand this better, imagine a strong bullish move. Price shoots upward with large candles, often driven by institutional activity or high momentum. During this move, there isn’t enough time for buyers and sellers to interact at every price level. As a result, certain price ranges are skipped or traded very lightly.
On the chart, this usually appears as a three-candle formation. The middle candle is strong and impulsive, and the candles before and after it don’t fully overlap in their wicks. The space between them is what traders call the Fair Value Gap.
This gap is important because it shows inefficiency. In a “balanced” market, price moves gradually, allowing transactions to occur at each level. But when an FVG forms, it signals that price moved too quickly without proper equilibrium.
Now here’s the key idea: markets tend to seek balance. That means price often returns to these inefficient areas later on. This is why many traders use FVG trading as a way to identify potential entry zones instead of chasing price after a move has already happened.
Another way to think about it is through order flow. Large institutions don’t always get their full orders filled during fast moves. So when price returns to the gap, it gives them another opportunity to enter or complete their positions. This is one of the main reasons why FVG zones often act as reaction points.
You’ll also hear traders refer to this as fair value gap forex, especially when applying it in currency markets. The logic remains the same across all markets price moves fast, leaves imbalance, and later comes back to rebalance.
It’s important to remember that an FVG is not a guarantee. Price doesn’t always fully return to fill the gap. Sometimes it reacts from the edge or partially fills it before continuing. That’s why confirmation and context are essential.
This is also where the idea of imbalance trading comes into play. Instead of focusing only on patterns, you start understanding how the market moves between imbalance and balance. That shift in perspective is what makes FVG truly powerful.
Why FVGs Form in the Market
To understand why FVGs form, you need to look beyond the chart and think about how the market actually operates.
Markets move because of orders buy orders and sell orders. But not all orders are equal. Large institutions operate with volumes that are much bigger than those of retail traders.
When institutions enter the market, they often create strong momentum. This can happen during news releases, session opens, or after key levels are broken. When that happens, price moves quickly, leaving little time for proper trading at each level.
That’s exactly how an FVG is created. The speed of the move causes inefficiency. Certain price levels are skipped or traded lightly, creating a gap.
But here’s the interesting part: institutions don’t always get all their orders filled during that fast move. So later, price often returns to those areas.
This return is not random it’s the market rebalancing itself. That’s why FVGs often act as continuation zones rather than reversal points.
This behavior is the foundation of any solid FVG strategy. Instead of entering trades impulsively, you wait for price to come back to areas where real activity is likely to happen again.
Many experienced traders rely on trading without indicators and focus purely on price behavior and structure. FVG fits perfectly into this approach because it is based on how price naturally moves.
Some traders also study similar concepts through different methodologies like Otet, where the goal is to understand how price interacts with key zones rather than relying on signals.
Once you understand why FVGs form, they stop looking like random gaps and start looking like opportunities.
Types of Fair Value Gaps
Not all Fair Value Gaps are equal. This is something many beginners overlook. They see a gap, mark it, and expect price to react every time. But in reality, some FVGs are strong and meaningful, while others are weak and easily ignored by the market.
Understanding the different types of FVGs helps you filter out low-quality setups and focus only on the ones that actually matter. This is where your trading starts becoming more selective and more effective.
Let’s start with the most basic classification: bullish and bearish FVGs.
A bullish FVG forms during a strong upward move. Price pushes higher quickly, leaving behind an imbalance below. When price later retraces into that gap, traders look for buying opportunities. The idea is that the market may continue upward after rebalancing.
A bearish FVG is the opposite. It forms during a strong downward move. Price drops aggressively, creating a gap above. When price comes back into that zone, traders look for selling opportunities, expecting the downtrend to continue.
At this level, the concept is simple but the real edge comes from understanding which FVGs are worth trading.
One important distinction is between strong and weak FVGs.
A strong FVG usually forms during high momentum and aligns with the overall market trend. For example, if the market is clearly trending upward and a clean bullish FVG appears after a breakout, that’s a high-quality setup. These are the gaps you want to pay attention to.
A weak FVG, on the other hand, forms in messy or sideways conditions. In these situations, price is not moving with clear intent. Gaps formed here are often filled quickly or ignored completely. Trading them can lead to unnecessary losses.
Another important factor is location. Where the FVG forms matters just as much as how it forms.
For example, an FVG that appears near a key support or resistance level is more meaningful than one in the middle of a range. The same applies if it forms after a structure break. These contextual clues increase the probability of a reaction.
There’s also the concept of “nested” FVGs. Sometimes, you’ll see multiple gaps forming within the same price area, especially across different timeframes.
For example, a higher timeframe FVG (like H4) may contain smaller FVGs on lower timeframes (like M15). These nested zones can provide very precise entry points when used correctly.
Another variation is partial vs full gap fills.
Some traders expect price to fill the entire gap before reacting, but that’s not always the case. Often, price will react from the midpoint of the FVG or even from the edge. This is why it’s important to treat the gap as a zone rather than a single price level.
You’ll also notice that FVGs behave differently depending on market conditions. In trending markets, they often act as continuation zones. In ranging markets, they may not hold as well and can be broken easily.
This is why combining FVG analysis with overall market structure is essential. Without context, even a perfect-looking gap can fail.
It’s also helpful to understand how FVGs relate to broader concepts like imbalance trading. Instead of focusing only on patterns, you begin to see the market as a system constantly moving between imbalance and balance.
Another interesting angle is how candlestick behavior interacts with FVGs. If you study best candles for trading strategy, you’ll notice that strong rejection candles forming inside an FVG can be powerful confirmation signals.
Over time, you’ll start recognizing that the best FVGs are not just visually clean they also align with structure, momentum, and context.
That’s when things start to click. Instead of marking every gap, you become selective. And that selectivity is what leads to consistency.How to Trade FVGs Step by Step
Understanding FVG is one thing, but actually trading it is where most traders struggle. The goal here is not just to recognize gaps, but to use them in a structured and repeatable way.
The good news is that trading FVGs doesn’t require complicated systems. In fact, keeping things simple often leads to better results. What matters most is having a clear process and sticking to it.
Let’s break it down step by step.
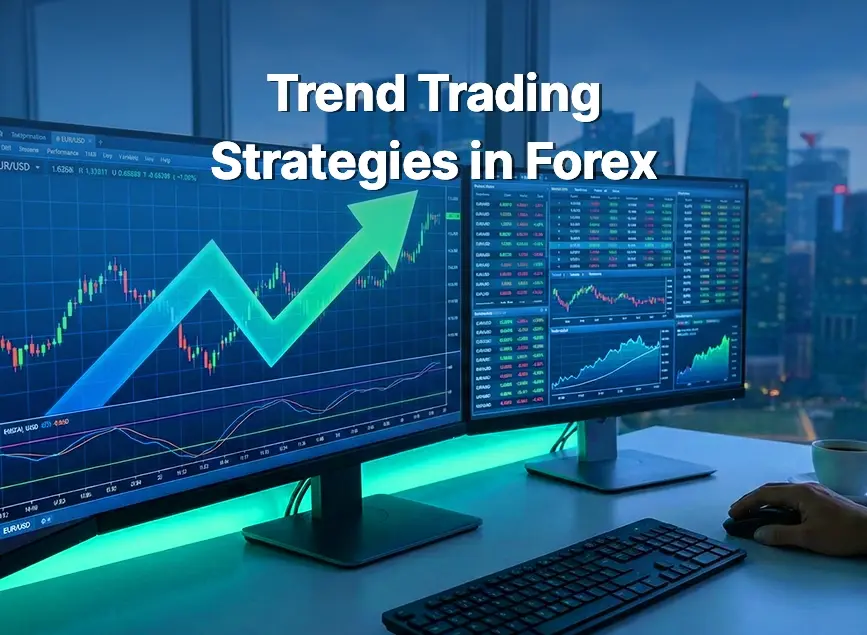
The first step is identifying the overall market direction. Before even looking for an FVG, you need to know whether the market is trending up, trending down, or moving sideways.
Trading with the trend gives you a natural advantage. If the market is bullish, you focus on bullish FVGs. If it’s bearish, you focus on bearish ones. This simple filter alone can improve your accuracy.
The second step is spotting a clean FVG. Look for strong, impulsive moves that leave a visible gap between candles. The cleaner and more obvious the gap, the better.
Avoid forcing it. If you have to “convince yourself” that something is an FVG, it’s probably not worth trading.
The third step is marking the zone properly. Treat the FVG as an area, not a single line. Most traders mark it from the high of the first candle to the low of the third candle (or vice versa for bearish setups).
This gives you a clear zone where you expect price to react.
The fourth step and this is where patience comes in is waiting for price to return to the gap.
This is where many traders fail. Instead of waiting, they chase the move and enter too late. But the real edge of FVG trading comes from letting price come back to you.
When price returns to the zone, don’t jump in immediately. This leads to the fifth step: confirmation.
You want to see signs that the market is reacting to the FVG. This could be:
- Strong rejection candles
- A shift in market structure
- Slowing momentum
These signals tell you that the gap is being respected.
Now comes the entry. Once you have confirmation, you can enter in the direction of the trend.
For example, in a bullish setup, if price returns to a bullish FVG and shows rejection, you look for a buy. In a bearish setup, you look for a sell.
Stop loss placement is critical. A common approach is to place your stop just beyond the FVG zone. This protects you in case the setup fails while still giving the trade enough room to develop.
Take profit can be set at the next key level such as a previous high, low, or structure point. This helps maintain a good risk-to-reward ratio.
This entire process forms the foundation of how to trade FVG in a practical way. It’s not about guessing it’s about waiting for conditions to align.
Another powerful layer you can add is confluence. For example, if your FVG aligns with a support level, trendline, or liquidity zone, the setup becomes stronger.
You can also refine your entries on lower timeframes. For instance, you may identify an FVG on H1 but enter on M15 for better precision.
This is where FVG strategy becomes flexible. You’re not locked into one timeframe or one method you adapt based on context.
One thing to keep in mind is discipline. Even with a solid setup, not every trade will win. That’s normal. The goal is consistency over time, not perfection in every trade.
Some traders try to combine FVG with multiple indicators, but that can sometimes create confusion. Others prefer clean charts and focus purely on price action. There’s no single “correct” way it depends on your style.
However, the traders who succeed with FVG usually have one thing in common: they follow a process. They don’t rush, they don’t overtrade, and they don’t ignore context.
As you practice, you’ll start seeing the market differently. Instead of reacting to every move, you’ll wait for your zones. Instead of chasing price, you’ll let it come to you.
That shift from reactive to patient is what turns FVG from a concept into a real trading edge.
Combining FVG with Order Blocks
One of the most powerful ways to improve your FVG trading is by combining it with order blocks.
An FVG shows imbalance, while an order block shows institutional activity. When both align, the setup becomes much stronger.
If you’re not familiar with this concept, it’s helpful to understand what is order block first. This gives you insight into how institutions operate in the market.
When price returns to an FVG that overlaps with an order block, it creates a high-probability zone.
This type of confluence allows for better entries, tighter stop losses, and higher confidence.
Many traders consider this combination FVG with order block as one of the most effective approaches in price action trading.
Common Mistakes in FVG Trading
Many traders fail not because the strategy doesn’t work, but because they misuse it.
One common mistake is trading every FVG. Not all gaps are worth trading.
Another mistake is entering too early without confirmation.
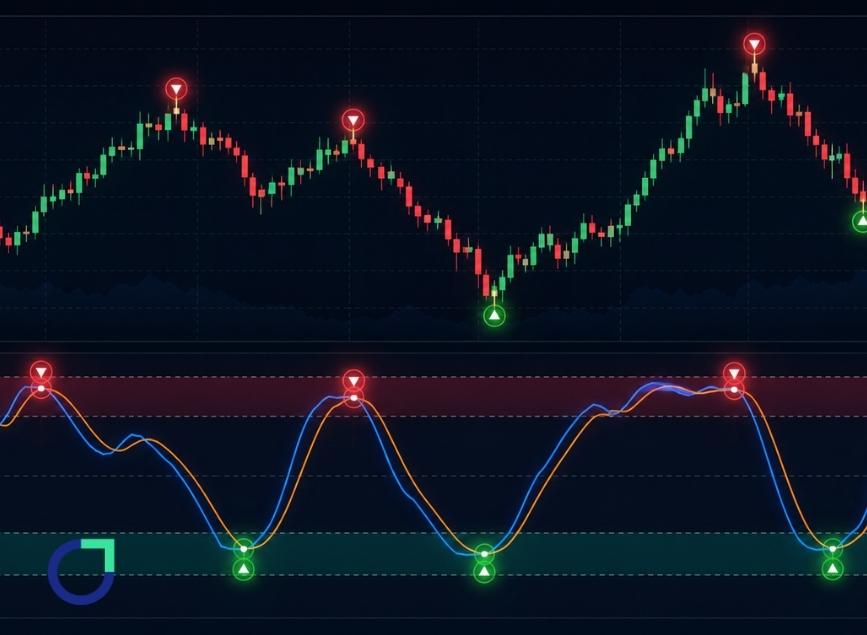
Overcomplicating the strategy by adding too many tools like those found in top 10 forex indicators can also reduce clarity.
Ignoring market context is another major issue. Always consider trend and structure.
Risk management mistakes are also common. Never risk too much on a single trade.
Finally, many traders lack patience. They don’t wait for price to return to their zone and end up chasing the market.
Learning from concepts like best candles for trading strategy can help improve your confirmation and timing.
Avoiding these mistakes can significantly improve your results.
Conclusion
Fair Value Gap is a simple yet powerful concept that can transform the way you trade.
It helps you understand where the market moved too quickly and where it might return.
Instead of chasing price, you begin to wait for better opportunities.
With practice, patience, and proper risk management, FVG can become a valuable part of your trading strategy.
FAQs
Is FVG reliable in trading?
Yes, when used with proper context and confirmation, FVG can be very effective.
Which timeframe works best for FVG?
Higher timeframes are better for identifying zones, while lower timeframes help refine entries.
Can FVG be used alone as a strategy?
Yes, but combining it with other concepts improves accuracy.
How do institutions use FVG?
They use these imbalance zones to fill and manage large orders efficiently.
Share
Hot topics
What Is the Stochastic Indicator and How Does It Generate Signals?
Financial markets move through changing momentum patterns that influence how prices rise and fall. In the case of an asset’s upward price movement, trading volume usually decreases before the price...
Read more


Submit comment
Your email address will not be published. Required fields are marked *